When I first got my Beats Studio 3, it was a bit of a puzzle figuring out all the buttons and specifically, how to turn them off after the first use. The Beats Studio 3, with its myriad of features, can be overwhelming, but once you get the hang of it, managing these headphones is straightforward and intuitive. Let’s dive into powering these headphones on and off step-by-step.
Understanding Your Beats Studio 3: What Makes Beats Studio 3 Special?
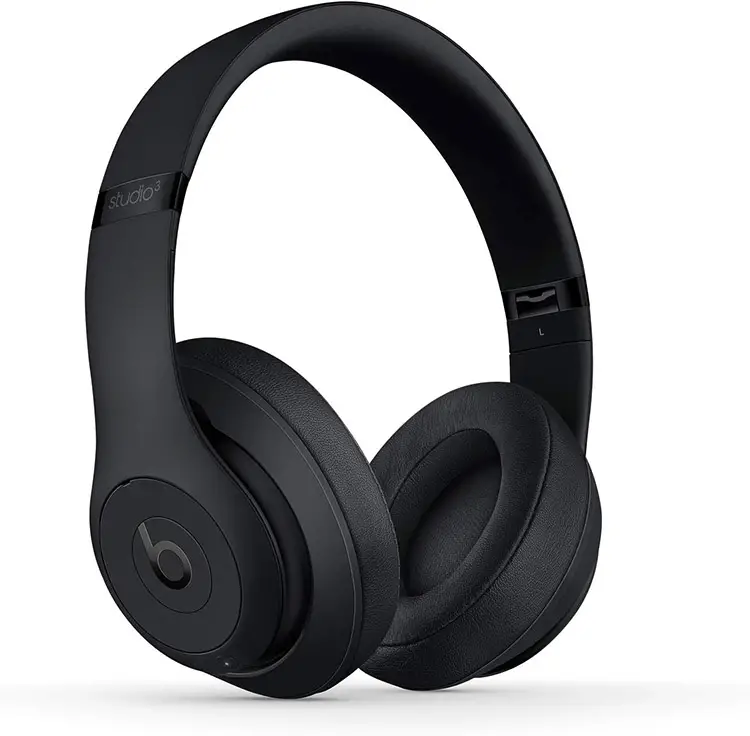
Beats Studio 3 stands out for its superior sound quality, active noise cancellation, and seamless Apple device integration. Its comfortable design and robust build quality make it a favorite in the audio world.
The Beats Studio 3 has several buttons on the side, each performing various tasks. Please familiarize yourself with the power button, volume controls, and charge ports, which are integral to its functionality.
Powering On and Off Your Beats Studio 3
Turn On Beats Studio 3: A Step-by-Step Approach
Press and hold the power button on the left earcup for about 1 second. You’ll hear a startup sound, and the LED indicator will blink white, signaling that your headphones are on.
- Locate the Power Button: Find the power button on the left earcup of your Beats Studio 3.
- Press and Hold: Gently press and hold the power button for about 1 second.
- Wait for the Signal: Listen for a startup sound. Simultaneously, watch for the LED indicator on the headphones to start blinking white.
- Release the Button: Once you hear the startup sound and see the blinking light, release the power button.
- Confirmation: The white blinking LED light confirms that your Beats Studio 3 headphones are now turned on and ready for use.
By following these simple steps, you can easily power on your Beats Studio 3 and enjoy your music experience.
Turning Off Your Beats Studio 3: How to Turn Off Beats Studio 3
Press and hold the power button for about 5 seconds. The lights will flash and then turn off, indicating that the headphones are off. Ensure you release the button as soon as the lights go off to avoid turning them back on.
- Locate the Power Button: Find the power button located on the left earcup of your Beats Studio 3.
- Press and Hold: Firmly press and hold the power button. Keep holding for about 5 seconds.
- Observe the Lights: Watch the LED lights on the earcup. They will start to flash, indicating the process of turning off.
- Release at the Right Time: As soon as the LED lights turn off completely, immediately release the power button. This step is crucial to ensure your headphones are completely turned off and not accidentally turned back on.
- Confirmation: The absence of any lights on the earcup confirms that your Beats Studio 3 headphones are now turned off.
Following these steps will ensure that your Beats Studio 3 headphones are properly turned off, helping to conserve their battery life and maintain their longevity.

Ensuring Your Beats Studio 3 is Off
Ensuring that your Beats Studio 3 headphones are off is crucial for battery conservation. To confirm they are powered down, check the LED indicator. If the LED light is off, it means the headphones are not using battery power, thereby extending the life of your headphones when they’re not in use.
Beats Studio 3 Tips for Power On and Off
Enable Bluetooth before turning on your headphones for a quicker connection.
If your Beats don’t turn off, it could be due to a low battery or a faulty power button. Charge them for a while and then try again. If issues persist, a soft reset may be necessary. Hold the power and volume down buttons for 10 seconds to reset.
For mechanical issues like a stuck button, use a cleaning agent like WD-40, or seek professional help if you’re uncomfortable doing it yourself. Ensure your firmware is up to date, especially if using with Android devices.
Setting Up Your Beats Studio 3
Unboxing and Initial Setup: Beats Studio 3 Setup
Unboxing your Beats Studio 3 is just the beginning of your audio journey. The initial step involves fully charging your headphones. This crucial action guarantees a complete battery, vital for the best performance. Starting with a full charge not only enhances your initial experience but also sets a good precedent for battery health.
Charging Your Beats Studio 3: The First Step
Connect your headphones to a power source using the provided cable. A full charge typically takes about 2 hours, indicated by the light turning off.
To conserve battery, always turn off your headphones when not in use. Avoid overcharging and regularly update your headphones’ firmware for optimal battery performance.
Connect Your Beats Studio 3
Connecting your Beats Studio 3 to your phone is a breeze. First, turn on the headphones and enable Bluetooth on your phone. Then, select ‘Beats Studio 3’ from the list of available devices on your phone’s Bluetooth settings. Once connected, you’ll hear a confirmation sound, indicating a successful pairing.
FAQ Section About Beats Studio 3 Power Options
Can I turn on Beats Studio 3 without using the power button?
No, the Beats Studio 3 requires the use of the power button to turn on. This button is essential for activating the headphones and pairing with your device.
Why won’t my Beats Studio 3 turn off?
If your Beats Studio 3 won’t turn off, it could be due to a temporary software glitch or a faulty power button. Try a soft reset by holding down the power and volume down buttons for 10 seconds. If the issue persists, consult with Beats customer support for further assistance.
How to troubleshoot Beats Studio 3 not turning on?
First, ensure your Beats Studio 3 are fully charged. If they still won’t turn on, reset them by holding the power and volume down buttons for 10 seconds. If this doesn’t resolve the issue, there might be a hardware problem, and contacting customer support is advised.
How do I know if my Beats Studio 3 is turned on or off?
Check the LED indicator to determine if your Beats Studio 3 is on or off. When turned on, the LED light will blink, and you’ll hear a startup sound. If turned off, the LED light will be off, and no sound will be heard.
Can the Beats Studio 3 turn on automatically when I put them on?
No, Beats Studio 3 headphones do not have an automatic turn-on feature when you put them on. You need to manually turn them on using the power button each time you want to use them.
What should I do if my Beats Studio 3 won’t turn on even when charged?
If your charged Beats Studio 3 won’t turn on, try resetting them by holding down the power and volume down buttons for 10 seconds. If this doesn’t work, it may indicate a hardware issue, and you should contact Beats customer support for further troubleshooting or repair options.
Are there any LED indicators for power status on Beats Studio 3?
Yes, the Beats Studio 3 headphones have an LED indicator showing their power status. When the headphones are on, the LED light blinks. When they are off, the LED light does not illuminate—additionally, the LED light behavior changes to indicate charging status and battery level.
Conclusion: Our Final Words…
Mastering the power function of your Beats Studio 3 is key to enjoying its high-quality audio experience. Remember, these headphones don’t have an automatic turn-off feature, so always manually power them down to conserve battery. By following these steps and troubleshooting tips, you’ll ensure that your Beats Studio 3 serves you well for a long time to come.
 (1 votes, average: 5.00 out of 5)
You need to be a registered member to rate this.


Leave a Reply