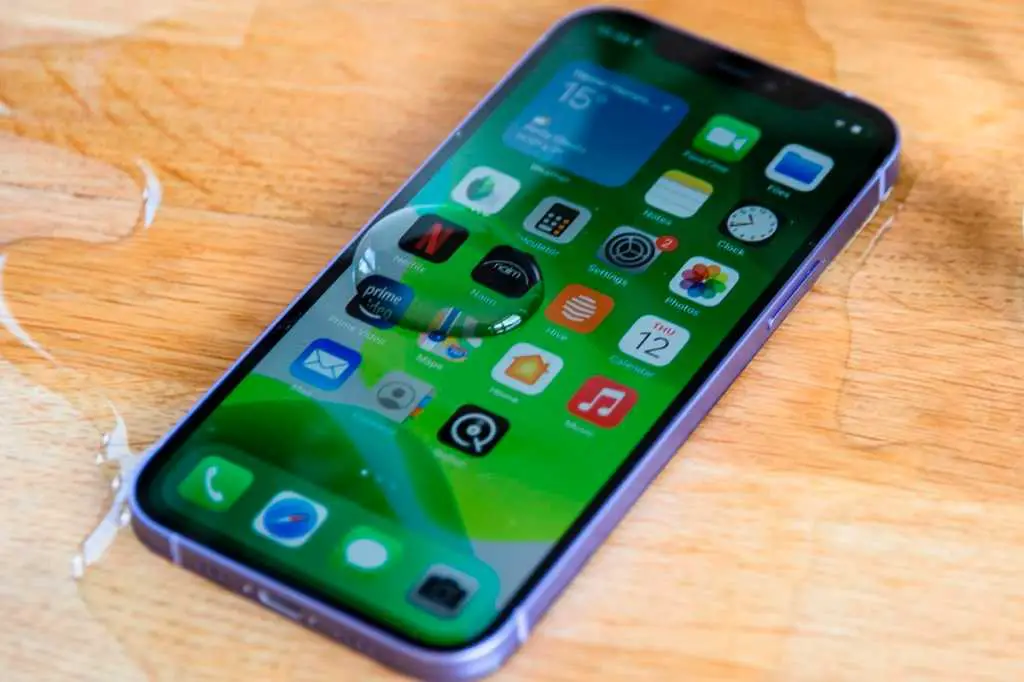
You like your iPhone for its elegant appearance and excellent usefulness, but calamity strikes one day when you put it in water or suffer an unlucky drop. Suddenly, you’re confronted with an ominous problem: a green screen! Don’t worry; we’ve got your back! In this post, we’ll look at numerous ways to cure the dreaded iPhone green screen after being exposed to water or a drop. Let’s get started!

Examine the Damage
Before going into the repairs, it’s critical to determine the degree of the damage. Check for evidence of water entry, such as condensation in the camera lens or charging port, if your iPhone came into touch with water. For drop-related damage, examine the device for physical cracks or dents that might have impacted internal components causing the green screen.
Immediate Actions Following Exposure
If your iPhone has been drenched or dropped, you must act immediately. First and foremost, take it from the water and turn it off. Avoid turning it on or plugging it in, since this might result in a short circuit. Avoid using a hairdryer or other direct heat source to dry the phone’s exterior, since high heat might cause severe damage.
Reboot Your iPhone
The green screen problem is often caused by a transient software error. A simple restart may be all that is required. Press and hold the power button until the slider displays to restart your iPhone. Swipe it to turn it off, then wait a few seconds before turning it back on.
Force Restart Your iPhone
If the green screen remains after a routine restart, a force restart may be necessary. Force restart procedures differ across iPhone models. For iPhone 6s and before, press and hold the power and home buttons at the same time until the Apple logo shows. Press and hold the power and volume down buttons on the iPhone 7 and 7 Plus. For iPhone 8 and later, swiftly push the volume up and down buttons, then the side button, until the Apple logo shows.
Check for Software Updates
Software upgrades frequently include bug fixes and improvements that might remedy known issues such as the green screen. Go to Settings > General > Software Update to check for updates.If an update is available, download and install it.
Reset All Settings
If the green screen persists, try resetting all of your iPhone’s settings. This will not wipe your data, but it will return all system settings to their default defaults. Select Settings > General > Reset > Reset All Settings from the menu. It’s important to note that this will delete any specific settings and preferences, so make a backup before starting.
Check for App or System Conflicts
Third-party programs or system issues can sometimes cause the green screen issue. Identify any newly installed programs or updates that might be causing the issue. Uninstall or update those programs to check whether the problem is resolved. Check for system problems by temporarily disabling features like as AssistiveTouch or Night Shift.
Use DFU Mode to Restore iPhone
If everything else fails, try restoring your iPhone in DFU mode. DFU mode enables a more thorough system restore. However, be cautious because it might cause data loss. Connect your iPhone to a computer, launch iTunes (or Finder for macOS Catalina and later), and then follow the on-screen instructions to enter DFU mode and restore your device.
Seek Professional Help
If none of the aforementioned options work, it’s time to seek expert assistance. To diagnose and resolve the problem, contact authorized Apple repair facilities or skilled professionals. They have the knowledge and tools to tackle complicated repairs.
Data Recovery Options
Even if your iPhone is beyond repair, you may still be able to restore your data. Various third-party data recovery applications or services can assist in recovering vital data from damaged devices. Make sure to study reliable choices and thoroughly follow their directions.
Preventing Future Incidents
Prevention is always preferable to cure. Take the following actions to prevent encountering the green screen issue in the future:
- Use an iPhone case that is water-resistant or waterproof.
- When using your phone near water, be cautious.
- Keep your iPhone away from harsh temperatures and intense sunlight.
- To reduce the chance of dropping, use a wrist strap or phone holder.
Conclusion
Experiencing a green screen on your iPhone after water exposure or a drop can be concerning, but there’s hope. By following the steps outlined in this article, you can attempt to resolve the issue on your own. Remember to start with the simplest solutions like restarting your iPhone and gradually move to more complex options if needed. If all else fails, don’t hesitate to seek professional assistance from Apple service centers or certified technicians. Protect your iPhone from future incidents and always keep it safe from water and drops to ensure its longevity and optimal performance.
FAQs
Is DFU mode safe for my iPhone?
DFU mode should be used with caution because it might result in data loss and void the warranty. Only try it if all other options have failed, and make a backup beforehand.
Are there any DIY methods to fix a green screen?
Although the article gives numerous DIY solutions, it is critical to recognize the hazards involved. If you’re unsure, hiring an expert is the safest bet.
Is it possible to repair a green screen on an iPhone at home?
Some software problems can be resolved at home using the techniques offered in this article. However, hardware-related issues may necessitate the assistance of a specialist.
What should I do if my iPhone gets wet?
Remove it from the water as soon as possible, turn it off, and avoid utilizing direct heat sources. To dry and examine the damage, follow the procedures in the article.
Can a software update create a green screen?
Yes, software upgrades can occasionally bring flaws or conflicts that cause the green screen problem. Checking for and installing the most recent updates may remedy the issue.


Leave a Reply