
Crafting a bespoke email signature in Outlook 365 can lend a professional edge to your correspondence, as well as saving you time by automatically appending the same information to each email. Here is a handy guide that will help you design and apply a signature in Outlook 365 (part of Office 365).
Step 1: Access Outlook 365
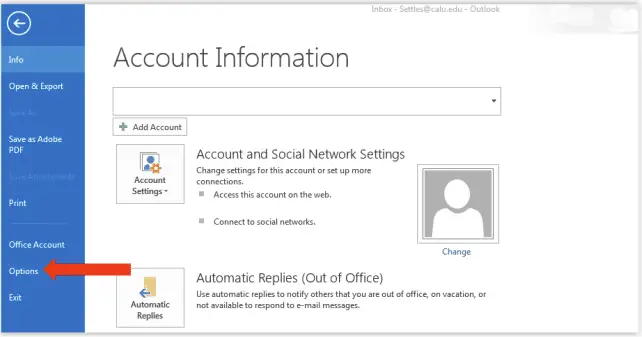
To start with, open up the Outlook 365 application on Windows. If you’re using a web browser, head to the Outlook website and sign in using your Microsoft 365 account information.
Step 2: Head Over to Settings
If you’re on the desktop version:
- Click the `File` option, which you’ll find at the top left of the Outlook interface.

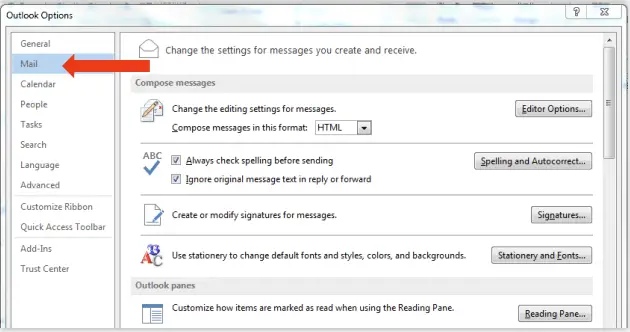
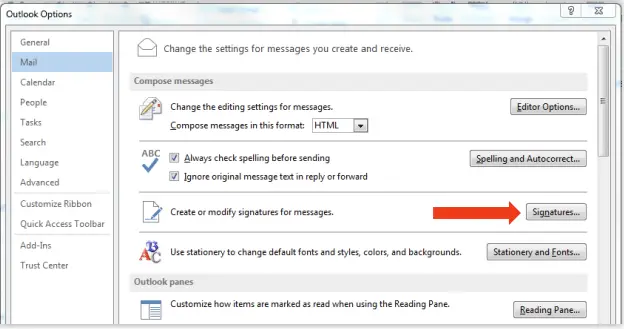
- From the drop-down menu, pick `Options`, followed by `Mail`, and then `Signatures`.
For users on Outlook online:
- To access the `Settings` menu, click the gear-shaped icon located in the upper-right corner.
- In the search bar at the top of the Settings menu, input “email signature” and choose the corresponding option that appears.
Step 3: Initiate a New Signature
Inside the Email Signature window:
- Click the `New` button to commence the creation of a new signature.
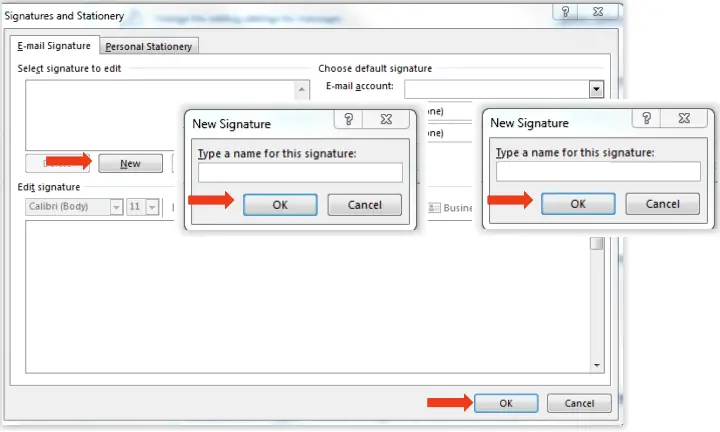
- You’ll be asked to give your new signature a name. Type your preferred name and then click `OK`.
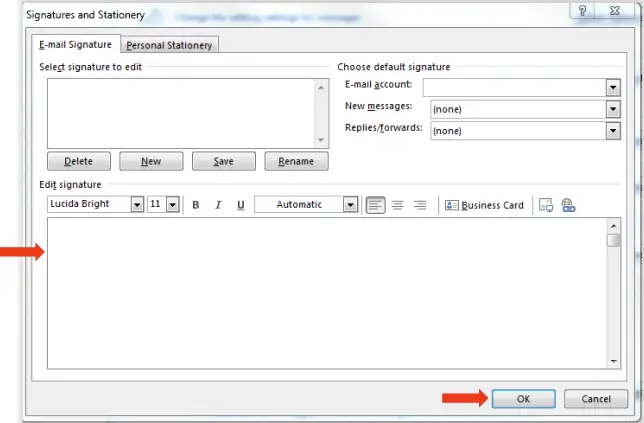
Step 4: Design Your Signature
- In the provided space, input the information for your signature exactly as you want it to appear in your emails. This can include your full name, job position, contact number, email address, website, or any relevant social media handles.
- Use the formatting tools above the text box to modify the font, size, color, and alignment of your text to your liking.
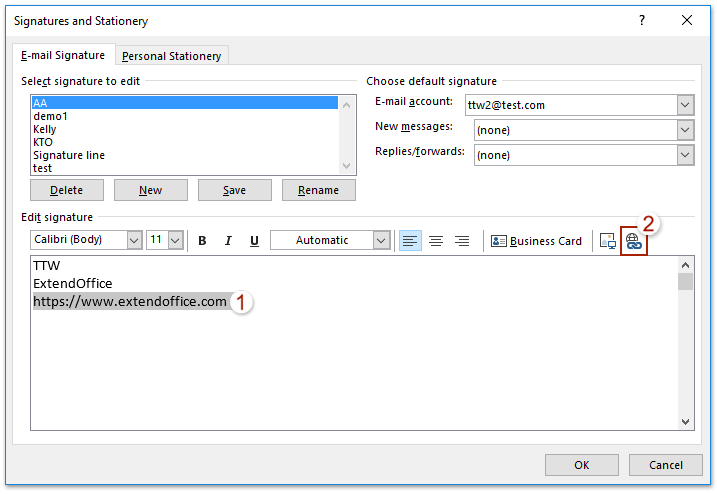
- If you want to insert a hyperlink, highlight the text that you want to link, then click the hyperlink button (depicted as a chain link) in the toolbar, key in your URL, and then click `OK`.
- To insert an image, click on the image icon, locate the image you want to include, choose it, and then click `Insert`.
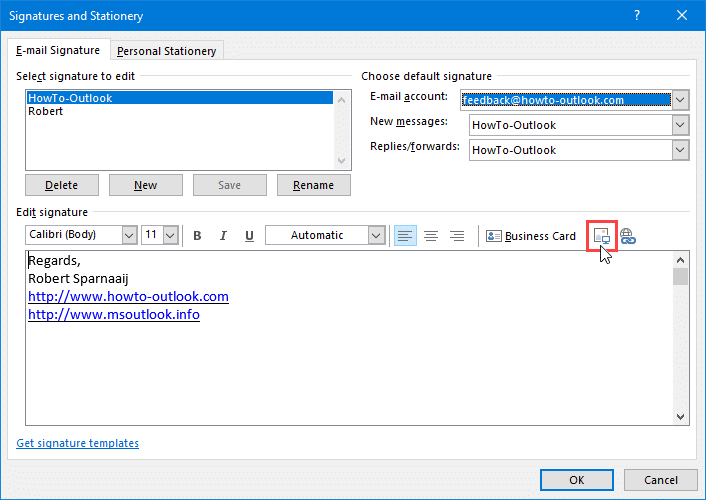
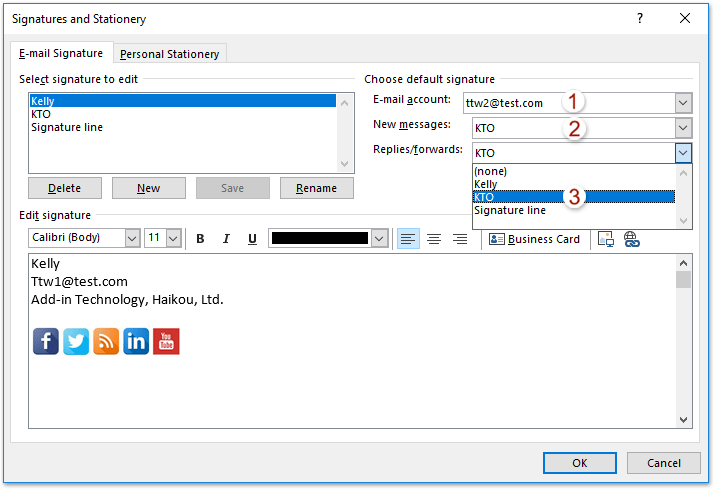
Step 5: Determine Your Signature Preferences
Once your signature has been created:
- Under `Choose default signature`, you have the opportunity to link your new signature to an email account and decide when it should be automatically added to your emails.
- Use the `E-mail account` drop-down menu to identify which account will use this signature.
- Use the `New messages` drop-down menu to select the signature you want to use for fresh emails.
- Use the `Replies/forwards` drop-down menu if you want to use the same signature for these types of messages as well.
Step 6: Store Your Signature
Click `OK` or `Save` to retain your newly created signature.
From now on, whenever you draft a new email or respond to an existing one, your fresh signature will automatically be inserted at the end of your message. Establishing a custom email signature in Outlook 365 not only adds a professional air to your emails but also ensures your recipients always have your important contact information at their fingertips.
 (1 votes, average: 5.00 out of 5)
You need to be a registered member to rate this.


Leave a Reply