Are you looking for the QL-810w default password? Well, in this post, we will be showing you the default password of your QL-810w. But before we do that, let’s guide you on the process you can use to connect the ql-810w device to a Wifi network.
To enable the Wi-Fi printing for Brother QL-810W in iLobby. To do that, you will need to Connect the Printer to the Wi-Fi network.
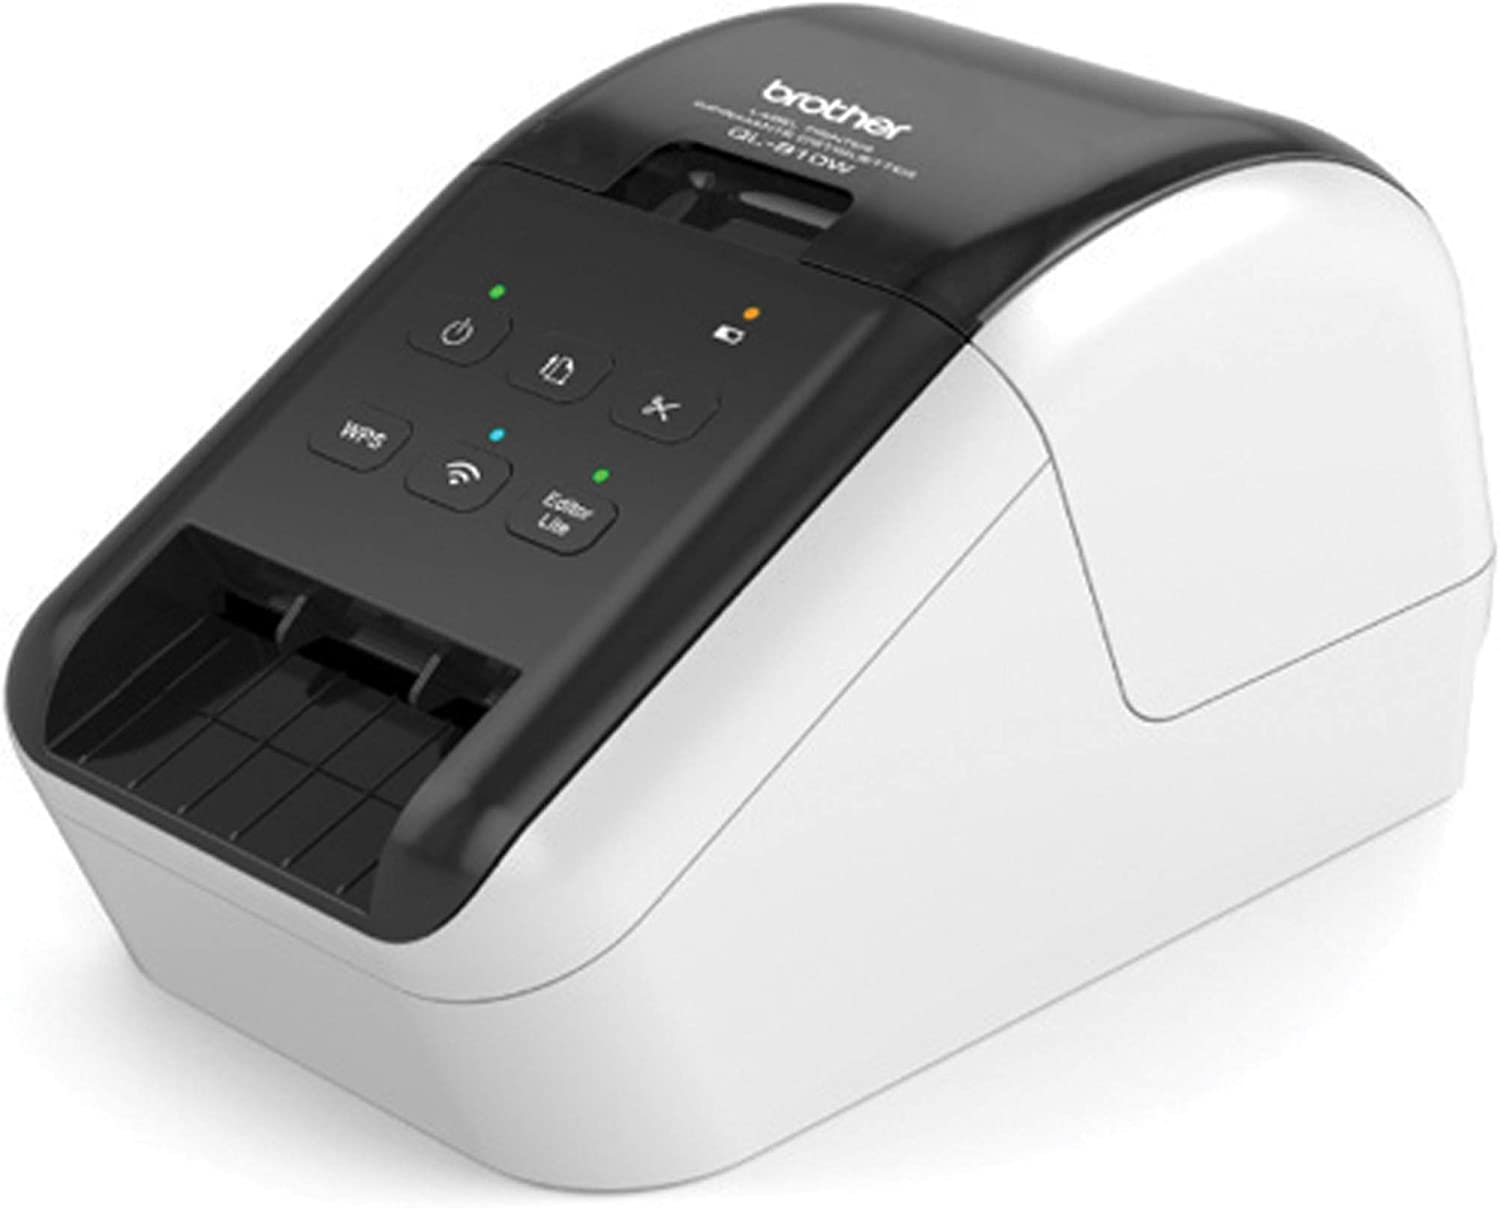
Step 1: Open the printer and connect the AC power cord to the printer and to the AC adapter.
Step 2: Next, plug the printer cord into a power outlet and wait till the printer is powered On.
Step 3: Now hold the Wi-Fi button for 3 seconds and release it once the blue LED lights up.
Step 4: On your iPad device, go to Settings app > Wifi > and connect to the Wifi network named DIRECT-xxxxx_QL-810W.
Step 5: Use this password 810xxxxx with the xxxxx being the same 5 numbers from the network name.
Step 6: Once the network is connected, note down the IP address that is listed for Router.
Step 7: Now open your Safari app on the iPad and go to the Router IP address which was written down in the previous step.
Step 8: Log in to the Brother QL-810 Portal using the default password on the bottom of the Printer (Sticker with PWD:)
Step 9: After that, select Network on the Navigation Bar, then select Wireless.
Step 10: You can now collect the preferred network by selecting Wireless (Personal) and selecting Browse next to the Wireless Network Name (SSID) text box. From here, you can see the list of nearby available networks and use Submit.
Step 11: Here, you should select your Authentication Method (Most common will be WPA/WPA2-PSK) and enter your network’s password and Submit.
Step 12: When asked to enable the Wireless Interface, tap Yes.
Step 13: When the printer is connected and you want to know the printer IP address using the QL-810W portal, navigate to the TCP/IP (Wireless) settings and note down the IP Address.
Step 14: Go to the Settings app on your iPad and select Wi-Fi settings and then connect the iPad to the network that you connected the printer to.
How to Configure iLobby to Use the Printer
Step 1: Go to https://portal.goilobby.com
Step 2: Login using your iLobby Credentials and select Settings and then Configuration.
Step 3: Next, select the appropriate site for which you would like to have printing enabled and tap on enable Badge Printing.
Step 4: Now, set the Connection Method to Wi-Fi/Ethernet.
Step 5: Enter the Address of the printer that was previously written down and click Saved.
Step 6: Select Settings again and then Device and choose the device for which you would like to enable printing.
Step 7: Select the Connection Method to Wi-Fi/Ethernet.
Step 8: Enter the Printer IP address.
Step 9: Click Saved.
Step 10: Finally, you can now open the iLobby app on your iPad and sign in process as a test visitor. After that, a badge should be printed at the end of the sign-in process.
How do I connect my QL-810W?
About QL-810w
 (1 votes, average: 5.00 out of 5)
You need to be a registered member to rate this.


Leave a Reply