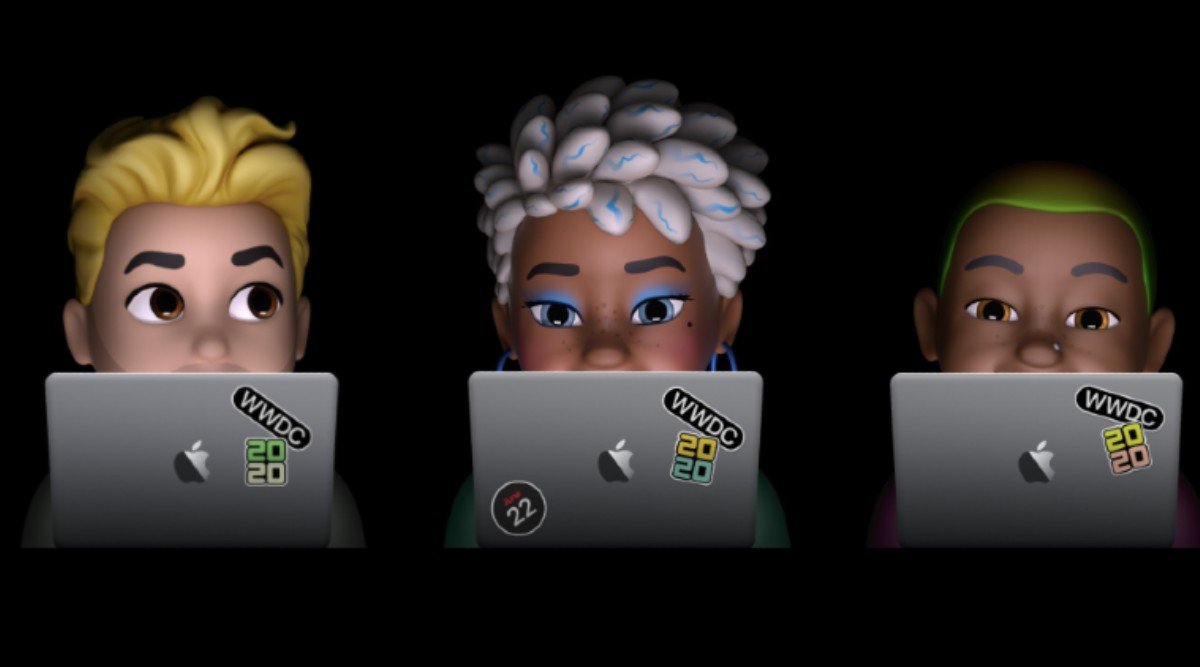
Did you know, with the latest macOS Big Sur, you can create and customize Memoji just the way you do on your iPhone and iPad. Memoji lets you express your emotions through stickers that match your personality. In this post, we will be showing you how to create and use Memoji in MacOS Big Sur.
Related:
Download watchOS 7 Developer Beta 1 on Apple Watch
iCloud Folder Sharing Not Working: Let’s fix it
How To Fix a Frozen Computer Or Won’t Turn Off
Create Memoji Stickers in macOS Big Sur
Step 1: Open the Messages app on Mac.
Step 2: Select a conversation and click on the App Store icon next to the text field.
Step 3: Then select Memoji Stickers.
Step 4: Click on the 3 dots icon in the pop-up box and select New Memoji.
Step 5: Here you can now create memoji as you want using custom hair, skin tone, eyes, and many more.
Step 6: Click on Done when you are through with any memoji.
You can now see it in the selection of Memojis and then use it in your conversation.
How to Edit, Duplicate or Delete Memoji MacOS Big Sur
After creating a memojis on your macOS Big Sur, you can delete it or edit it by following the steps below.
Step 1: Click the three dots icon and choose Edit to make changes to the memojis.
Step 2: Then select Duplicate to make a copy of the Memoji.
Step 3: Select Delete to permanently remove the Memoji
How to Set Memoji as Group Photo in iMessage in macOS Big Sur
Step 1: Open the Messages app and open a group conversation. Click on the “i” icon and then click on the change group name and photo.
Step 2: Here scroll down and select the Memoji from the options. Also, click on See More to see other available Memojis.
Step 3: You can now select your preferred skin tone for the Memoji and click on Done.
Set Memoji as your iMessage Profile Photo in macOS Big Sur
Step 1: In the Messages app, click on the Messages menu at the top and select Preferences.
Step 2: Then click on Set up Name and Photo Sharing.
Step 3: Click on Continue.
Step 4: Click on customize.
Step 5: Now select your Memoji. You can also opt to create a new one from here by clicking on the + sign.
Step 6: Choose your preferred skin tone and then click Done.
Step 7: You will then be asked if you want your Apple ID and My Card in Contacts to be updated with the selected photo. Just click Use to confirm.
Step 8: You will again be asked if you want to always share your name and photo with your contacts or if you want to be asked every time before sharing, Select your preference and then click on Done.
Your photos will now be updated. You can always make changes anything by hovering over it and clicking on Edit.
That’s all. I hope with the above steps, you can do more with memojis on your macOS Big Sur.


Leave a Reply