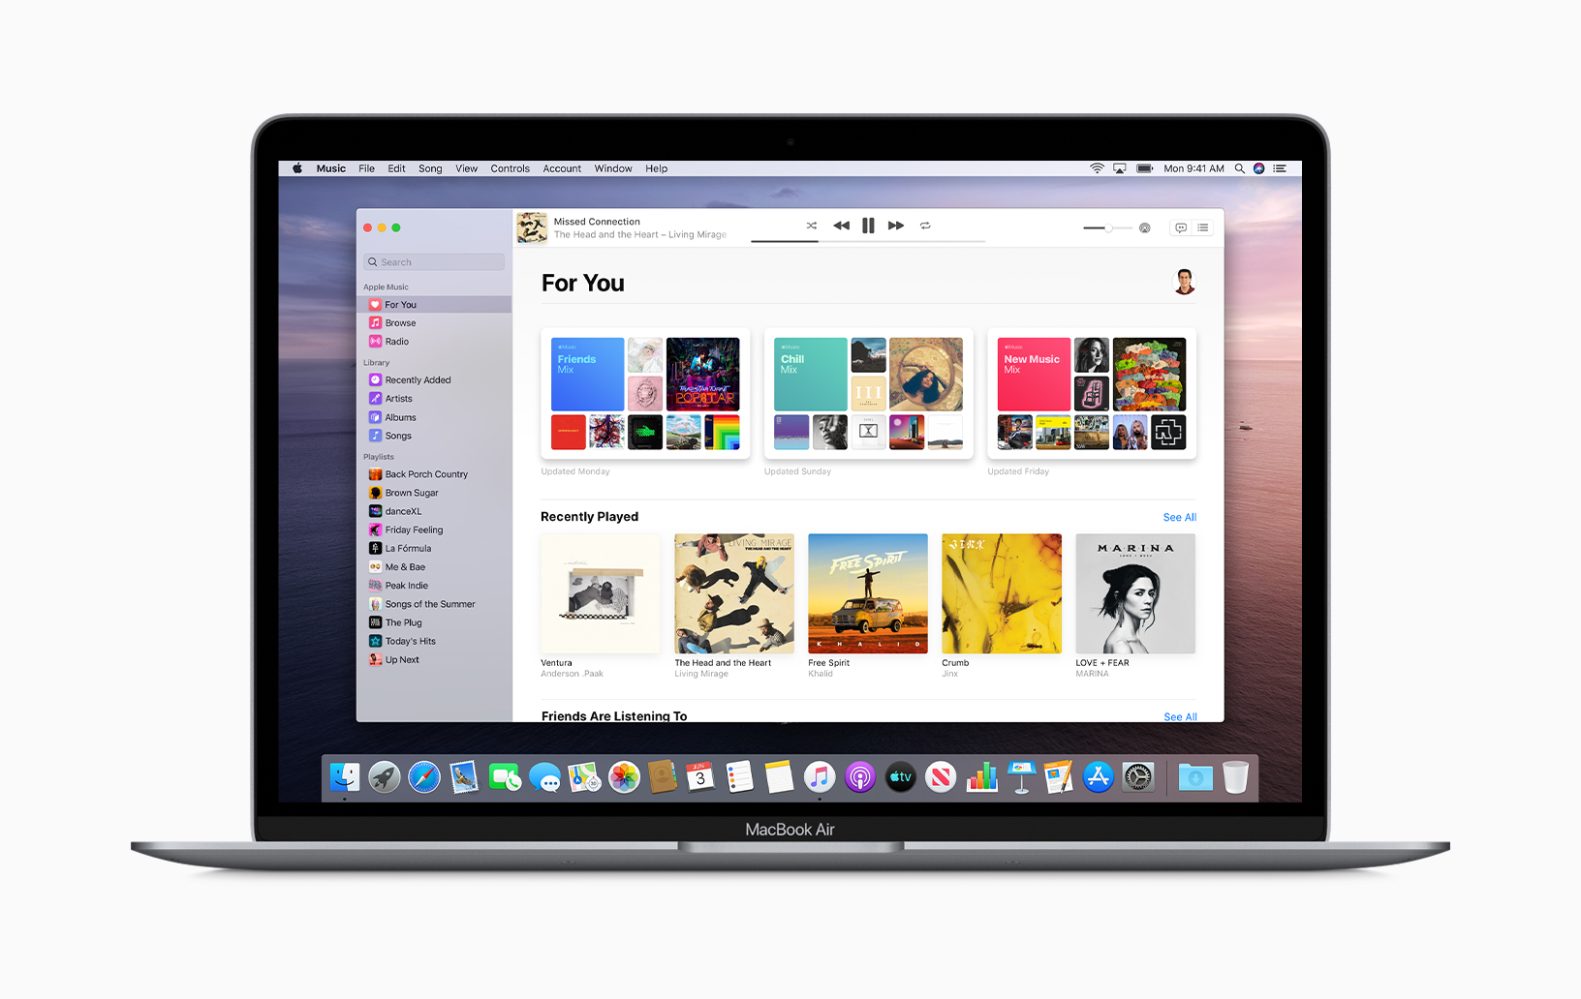
Starting with macOS Catalina, it’s no longer news that Apple is gradually retiring iTunes from the internet replacing its functionality with a few different apps such as Music, Books, Podcasts, and TV. Many questions many folks are so anxious to know is concerning the iTunes for iPhone, iPad, or iPod maintenance and updating?
Here is the good news, with the macOS Catalina, you can still use your Mac to update, restore, backup, and sync your iPhone and iPad. We can now use the finder app to do all the maintenance and heavy lifting.
Related:
- How To Fix App Store Not Working In MacOS Catalina
- How to Connect Android Phone to Tv: USB or Wireless
- Best App Lock For iPhone
- How To Unlock The iPhone XR For Any Carrier
- How To Fix iPad Keyboard That is not Working
- How To Backup, Factory Reset And Restore LG Smartphone
Advantage Of using our Macs to update our iPhones, iPads, and iPods.
Here at Techyloud we also recommend using Mac to update iPhone and other iOS devices. When you check our iPhone troubleshooting tutorials, you will find out that we use a Mac update on most of the guides. But why, you might ask, well, the main reason is that the app finder which is iTunes always installs a brand-new full version of iOS/iPadOS onto our devices.
However, when we update using the software on our device settings, it only installs the code changes–so most of the code is carried over from previous iOS versions. This method of update is called a delta update.
Our experiences and that of our readers have shown that updating iOS over the air cause a lot of problems and glitches in the long run. So we prefer firing up an update using Mac than the overall system software update on the device settings.
Is iTunes going away for Windows?
The answer is a big No. Apple will continue its support for iTunes on Windows and it remains the best method to update iOS devices. So if you have an older version of Mac or Mac OS X that doesn’t support macOS Catalina, you can still use iTunes to update the latest iOS version on iPhone and iPadOS. For now, Apple continues to support iTune for both Windows version and Mac version.
Updating to macOS Catalina
If you want to update to macOS Catalina and also intending to update your iOS or iPadOS using your Mac’s Finder app, you should first of all backup your iTunes library. After that, follow the steps below to update your iOS device via macOS Catalina.
How to update your iPhone, iPad, or iPod using your Mac’s Finder app
Step 1: Boot your Mac first.
Step 2: Tap System Preferences > Software Update ( You should check the box to automatically keep your Mac updated.)
Step 3: If there’s any macOS update pending, perform this update first before updating your iPhone, iPad, or iPod.
Step 4: Connect your iPhone, iPad, or iPod to your Mac via lightning USB cable.
Step 5: Now if you see a message on your iDevice to “unlock iPad to use accessories,” tap your iDevice and enter your Face ID, Touch ID, or passcode to reach your home screen
Step 6: If you are connecting a device for the first time to your Mac after updating to macOS Catalina, you will be asked to trust the device.
1. Just click on trust buttons on both devices (Mac and iDevice)
2. Enter your device passcode on your device to confirm the trust.
Step 7: Open the Finder app on your Mac (You can find it in your Dock)
Step 8: Search for your iDevice in Finder’s left sidebar under the Locations heading.
Step 9: Select your device to see the details panel information in the General tab.
Step 10: You should back up your device first using Back Up Now (Optional)
Step 11: Tap the Check for Update button from the General tab to update your device to the latest version.
Step 12: Click Download and Update. (Enter your Passcode if prompted)
Step 13: Now Finder App will update your iPhone, iPad or iPod touch to the latest version of iOS using the full update, not the Delta.
Features Of Finder Apps For iPhone, iPad, or iPod
Finder does a lot of pretty things on your device. For example, you can manage your device, back up, encrypt backups, and restore with Finder. Whenever you connect your iPhone, iPad, or iPod, open it in your Finder app’s sidebar, you will be able to carry out a backup, update or even manage your device.
All you need to do to sync is tap each category, choose your sync options with a checkmark, and tap the large Sync button at the bottom of your device Finder window, next to the storage graph.
Note: Unlike the earlier versions of iTunes, Finder does not include a feature that allows you to rearrange your iPhone or iPad App onto different home screens or folders. That feature was a long time ago remove on iTunes and you won’t also find it on Finder either.
If you want to rearrange your Apps on the latest iOS 13 and iPadOS, you can do that using the new Quick Actions option called Rearrange Apps. You will see this option when you long-press apps or folders on your home screen.
Just as mentioned, to access this option is pretty simple, just press the app icon or folder you want to rearrange or perform any specific action.


Leave a Reply