
Windows 10 does share in the same convenience present on the mobile platforms when it comes to taking screenshots. While it might seem cumbersome to some, screenshot on Windows 10 is pretty straightforward and has many methods to choose from. In this post, we shall be discussing the various methods of taking screenshots on Windows 10, giving you the idea of how to properly and seamlessly do it.
How to take screenshots on Windows 10
Related:
- How to fix Google Drive not syncing on Windows 10
- How To Remotely Open A GUI Application With PuTTY
- How to Add Shortcuts to iPhone Home Screen Widgets With iOS 15
- How To Allow Android Notifications On PC With Microsoft’s Your Phone
- How to upgrade to Windows 10 from window 7, 8 or 8.1 for free
- How To Fix “iMessage Waiting For Activation”
Method #1: Use the Print Screen (PrtScn)
One of the easiest ways to take a screenshot on Windows 10 (and perhaps the most common way you’d find online) is to use the Print Screen (PrtScn) button.
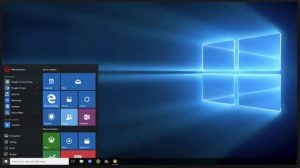
The Print Screen button can be found on most Windows 10 PC’s Keyboard, and you can use it to take a screenshot with or without saving it as a file.
What it primarily does when it is pressed, is to save the current screen in the clipboard, and depending on what key combinations you press, then save it as a file or not.
To save the screenshot as a file
All you’ve got to do is press “Windows logo key + PrtScn”, although the “Fn” or the “Ctrl” keys might be needed for some PCs.
When the keys are pressed, you see a momentary dim of the screen, and the screenshot has been successful.
It will then be saved as a file in a folder called “Screenshots” located in your default “Pictures” folder. The screenshot would be labeled with a number.
To just take the screenshot without saving. Just press “PrtScn”. The screenshot would be saved in your clipboard, from where it can then be pasted in any image editor and edited.
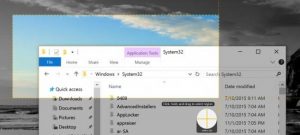
To take the screenshot of only one window
The “Alt+PrtScn” key combination would take a screenshot of the currently active window on the screen and copy it into the clipboard, from where it can then be pasted and edited elsewhere.
To take a screenshot of a certain part of the screen
The “Windows+Shift+S” would enable you to take the screenshot of a particular area of the screen, it would then be copied into your clipboard.
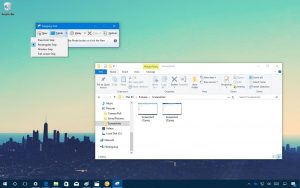
Method #2: Use the Snipping tool
You can also use the snipping tool to take a screenshot. All you’ve just got to do is open the application, choose the type of snip you wish to use by selecting the arrow next to “New”
The snipping tool doesn’t immediately take the screenshot but would delay for between 1 seconds to 5 seconds (depending on what you set it to)
Once it is done, the screen will freeze and fade out, you can then cut the snip anyhow you like.
Method #3: Use an application
If it isn’t enough for you to use Windows 10 built-in screenshot features, you can use a third-party application. SnagIt is an example of a powerful third-party screenshot application you can use. It’s got a lot of features that allows you to take specific or regional screenshots.
You could even use it to make short videos, annotate screenshots and a whole lot more. It’s a paid application but has a free trial you can download separately and try out.
 (0 votes, average: 0.00 out of 5)
You need to be a registered member to rate this.


Leave a Reply